
If you use a canvas tarp outdoors, waterproofing it is a must. Without it, water damage can ruin your tarp, leading to mold, mildew, and leaks. Whether you’re covering construction equipment, protecting firewood, or setting up a camping tent, a waterproof canvas tarp keeps your belongings safe and dry. By taking a few simple steps, you can shield your tarp from water damage and extend its life.
Key Takeaways
Wash your tarp well before waterproofing. Use warm water and gentle soap to clean off dirt. This helps the waterproofing stick better.
Pick the right waterproofing product for your tarp’s material. Use spray or wax treatments for stronger protection.
Let your tarp dry for at least three days in a breezy spot. This helps the waterproofing set, so your tarp can handle any weather.
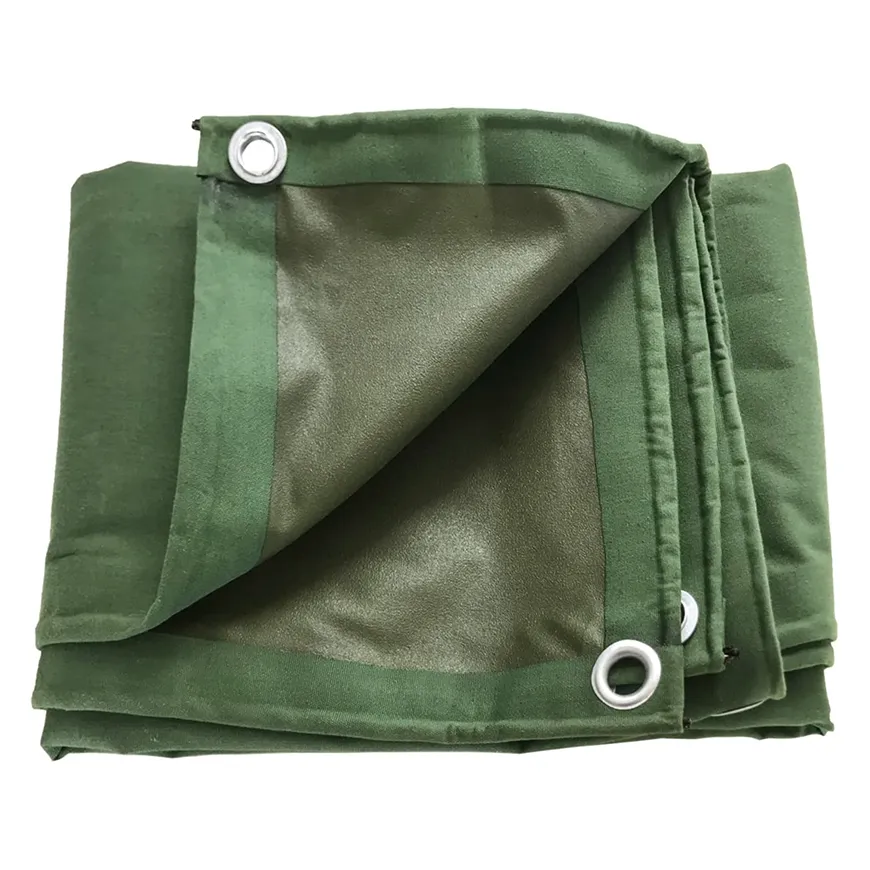
Materials and Tools for Waterproofing Canvas Tarps

Essential Materials for the Process
To waterproof your canvas tarp effectively, you’ll need the right materials. Here’s what works best:
Polyethylene tarps: These are lightweight, durable, and completely waterproof. They’re also UV-resistant, making them ideal for outdoor use.
Vinyl tarps: If you need something tougher, vinyl tarps are a great choice. They’re industrial-grade, weather-resistant, and have high tear strength.
Waterproof canvas tarps: These are made with silicone-coated polyester. They’re strong and breathable, perfect for light rain or moderate conditions.
Polyurethane coatings: This is a fantastic option for creating a water resistant coating. It bonds with the fabric, forming a solid barrier against water while still allowing the tarp to breathe.
You can also use waterproofing wax for an extra layer of protection. It’s easy to apply and works well for smaller tarps or areas that need extra care.
Tools to Simplify Waterproofing
Having the right tools makes the waterproofing process much easier. Here’s what you’ll need:
Soft-bristle brush: Use this to clean dirt and debris off your tarp before applying any waterproofing solution.
Spray bottle or applicator: This helps you apply the waterproofing product evenly across the tarp.
Protective gloves: Keep your hands safe while working with waterproofing solutions.
Drying rack or clothesline: Use this to hang your tarp so it dries completely after cleaning and waterproofing.
Measuring tape: If you’re working with a large tarp, this helps you measure and ensure even application.
With these materials and tools, you’ll be ready to give your tarp a durable water resistant coating that lasts.
Step-by-Step Guide to Waterproof Canvas Tarp
Step 1: Clean the Tarp Thoroughly
Before you start waterproofing, make sure your tarp is clean. Dirt and debris can prevent the waterproofing solution from sticking properly. Use a solution of warm water and mild dish soap to scrub the tarp. Pay extra attention to the grommets, as they often collect dust. Avoid harsh detergents since they can weaken the fabric. If the tarp isn’t too dirty, rinsing it with water might be enough. Be gentle while scrubbing to avoid damaging the material.
Step 2: Dry the Tarp Completely
Once the tarp is clean, it’s time to dry it. Rinse off any soap residue, then wipe the tarp with a cotton rag to remove excess water. Hang it on a drying rack or clothesline in a well-ventilated area. Check the grommets for trapped water and let the tarp air dry for about thirty minutes. If needed, use a fan to speed up the process. A completely dry tarp ensures the waterproofing solution adheres properly.
Step 3: Select the Right Waterproofing Product
Choosing the right product is key to achieving a durable water resistant coating. Consider the tarp’s material, size, and intended use. For heavy-duty protection, look for products like adhesive sprays or wax-based treatments. If you’re on a budget, there are affordable options that still provide excellent results. Always ensure the product is compatible with canvas fabric to avoid damage.
Step 4: Apply the Waterproofing Solution
Now it’s time to apply the waterproofing solution. Start by laying the tarp flat on a clean surface. Use an adhesive spray or brush to apply the solution evenly. Hold the spray about six to eight inches away and move continuously to avoid bubbles. After the adhesive dries, apply a water resistant coating in the same way. This two-step process creates a strong barrier against water.
Step 5: Allow the Tarp to Cure Properly
Patience is crucial during the curing process. Let the tarp sit in a well-ventilated area for at least three days. This gives the waterproofing solution enough time to bond with the fabric. Avoid using fans or heaters to speed things up, as this can affect the final result. Once cured, your tarp will be ready to handle rain and moisture with ease.
Tips for Waterproofing Success
Avoiding Common Mistakes
Waterproofing a canvas tarp might seem simple, but a few common mistakes can ruin your efforts. Here’s what to watch out for:
Skipping the cleaning step. Dirt and grime can prevent the waterproofing solution from sticking.
Forgetting to check the grommets. These spots often trap water, which can lead to mold.
Applying the coating unevenly. This creates weak spots where water can seep through.
Rushing the curing process. The solution needs time to bond with the fabric.
Ignoring safety. Always wear gloves to protect your hands from chemicals.
To avoid these pitfalls, take your time and follow each step carefully. A little extra effort now will save you from headaches later.
Tip: Set up a clean, flat workspace before you start. This helps you avoid wrinkles and ensures even application.
Ensuring Even Application
Even application is key to creating a strong, waterproof barrier. Start by laying your tarp flat on a smooth surface. Use a spray bottle or brush to apply the solution in long, steady strokes. Avoid concentrating too much product in one spot. Overlapping strokes slightly can help you cover the entire surface without missing any areas.
If you’re using a spray, hold it about six inches away from the tarp. This prevents pooling and ensures a smooth finish. For larger tarps, work in sections to maintain control and consistency.
Pro Tip: Check your work under good lighting. This makes it easier to spot areas you might have missed.
Testing the Waterproofing Effectiveness
Once your tarp has cured, it’s time to test its waterproofing. Lay the tarp flat and pour a small amount of water onto the surface. Watch how the water behaves. If it beads up and rolls off, your tarp is ready for action. If the water soaks in, you may need to reapply the solution.
Don’t forget to check the edges and grommets. These areas are often overlooked but are just as important. Testing your tarp ensures it’s ready to handle rain and moisture without any surprises.
Reminder: Always test your tarp before using it outdoors. It’s better to find leaks now than during a downpour!
Why Waterproofing Your Canvas Tarp is Important

Benefits of a Waterproof Canvas Tarp
Waterproofing your canvas tarp offers more than just protection from rain. It ensures your tarp stays durable and reliable for years. A waterproof canvas tarp resists UV rays, which prevents the material from weakening under sunlight. This is especially important if you use your tarp outdoors for extended periods.
Another big advantage is mold and mildew resistance. If you live in a humid area, you know how quickly moisture can cause problems. Waterproofing stops mold from forming, keeping your tarp clean and safe to use. Plus, a waterproof canvas tarp is built to last. Its durability makes it a smart investment for outdoor projects, camping, or covering equipment.
Tip: Regularly inspect your tarp for wear and tear. This helps you catch any issues early and maintain its waterproofing.
Risks of Not Waterproofing Your Tarp
Skipping the waterproofing process can lead to serious problems. Without protection, your tarp absorbs water, which weakens the fabric over time. This makes it more likely to tear or develop holes. Once that happens, your tarp won’t provide the coverage you need.
Mold and mildew are another concern. When water seeps into the material, it creates the perfect environment for these to grow. Not only does this damage the tarp, but it can also pose health risks if you’re using it near living spaces.
Finally, an unprotected tarp won’t stand up to harsh weather. Sunlight, rain, and wind can quickly wear it down. By waterproofing your canvas tarp, you avoid these risks and ensure it stays functional for all your outdoor needs.
Waterproofing your canvas tarp is simple when you follow these steps:
Scrub your tarp with hot water and dish soap to remove dirt.
Rinse, air dry, and check the grommets for trapped water.
Apply an even coat of adhesive spray as a primer.
Add a waterproof coating once the adhesive dries.
Let the tarp cure for three days in a ventilated area.
By waterproofing your tarp, you’ll protect it from rain, mold, and UV damage. This keeps it durable and reliable for years. Don’t wait—take these steps today and enjoy a tarp that’s ready for any outdoor challenge!
FAQ
How often should I reapply waterproofing to my canvas tarp?
You should reapply waterproofing every 6-12 months, depending on usage and exposure to weather. Regular inspections help you spot when reapplication is needed.
Can I use any waterproofing product on my tarp?
No, always choose a product designed for canvas. Using the wrong product can damage the fabric or reduce its effectiveness. Check the label for compatibility.
Tip: Test the product on a small area first to avoid surprises!
What’s the best way to store my tarp after waterproofing?
Fold it neatly and store it in a dry, cool place. Avoid direct sunlight or damp areas to prevent damage or mold growth.
Reminder: Let your tarp cure completely before storing it!
See Also
Essential Tips for Users of Oil Absorbent Socks
Evaluating UPQUARK Marine Absorbents for Oil Spill Response