
You don’t need nails to put a tarp on your roof. Non-invasive methods like adhesive tarps or bungee cords work great for temporary fixes. Whether you’re dealing with a leaky roof or protecting your roof during a storm, these methods avoid damage. Plus, they’re safer for the environment and local wildlife.
Key Takeaways
Use gentle methods like sticky tarps or bungee cords to hold a tarp on your roof. These ways keep your roof safe from harm.
Always stay safe when working on a roof. Wear a harness, use good shoes, and make sure your ladder is steady to avoid falling.
Check your tarp often for drooping or tears. Fix it if needed to keep it tight and stop water from collecting.
Preparation and Safety

Tools and materials needed
Get all your tools ready before starting. The right tools make the job simple and safe. Here’s what you’ll need:
Bungee cords: These help hold the tarp tightly by attaching to clips.
Ropes: A classic way to secure tarps to nearby objects.
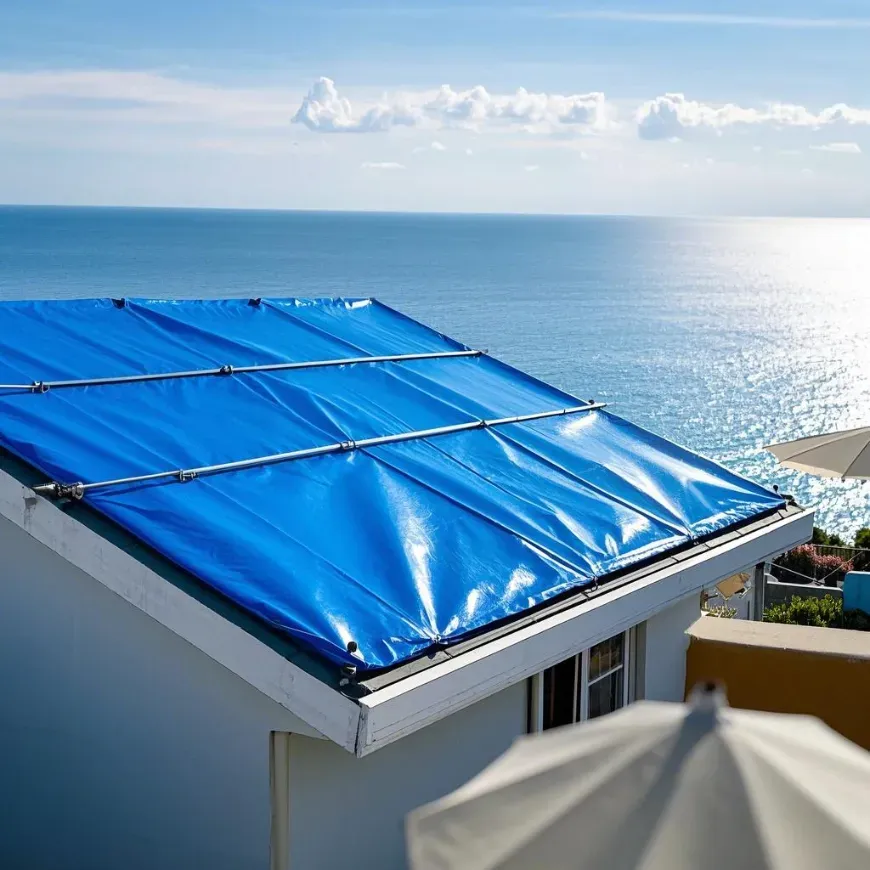
Tension rods: These hold the tarp in place without making permanent changes.
Tarp clips: These grip the tarp firmly and attach it to edges.
Adhesive tape: Strong outdoor tape sticks the tarp to surfaces well.
Pick a tarp made of tough materials like vinyl-coated polyester tarps or polyethylene tarps. These are waterproof and can handle bad weather.
Inspecting and clearing the roof
Check your roof carefully before putting on the tarp. Look for loose shingles, trash, or damage. Remove anything that could make you trip, like branches or tools. Be careful of slippery spots from water or leaves. If it’s dark, use good lighting to avoid accidents.
Safety precautions for working on a roof
Always put safety first. Use a harness or guardrails to stop falls. Wear shoes with good grip and a helmet for protection. Make sure your ladder is steady and on firm ground. Mark dangerous areas on the roof with warning lines.
Tip: Falling from roofs causes many injuries. Always stay safe when fixing a roof.
Step-by-Step Methods to Tarp a Roof Without Nails
Using adhesive tarps
A self-adhesive tarp is a great option when you want to attach it without drilling or using nails. Here’s how to install a roof tarp using this method:
Inspect the roof and measure the damaged area. Choose a tarp larger than the damage to ensure full coverage.
Take photos of the damage for insurance purposes.
Clear debris like leaves or branches to prepare and position the tarp properly.
Spread the tarp over the damaged section. Remove the adhesive backing and press it firmly onto the roof.
To secure the tarp further, wrap its edges around a temporary anchor like a piece of lumber. This prevents flapping during strong winds.
This method works well for small to medium-sized damages and avoids the need for nails entirely.
Securing with bungee cords or ropes
Bungee cords and ropes are excellent for securing a tarp to roof edges. They’re flexible and easy to adjust. Here’s how you can use them:
Attach bungee cords to tarp clips along the edges. Stretch the cords and hook them to sturdy points like gutters or nearby structures.
If you’re using ropes, tie them securely with knots like the trucker’s hitch or bowline. These knots help keep the tarp tight and prevent it from ballooning in the wind.
This method is ideal for situations where you need to secure a tarp quickly and effectively.
Attaching with tarp clips or sandbags
Tarp clips are a must-have when you want to tarp a roof without nails. They grip the tarp tightly and make attaching the tarp to edges simple. After clipping, weigh down the edges with sandbags. Place the sandbags strategically, especially in windy areas, to keep the tarp stable. This combination ensures the tarp stays in place without causing damage to your roof.
Creating an anchor board for added stability
For extra stability, you can create an anchor board. Roll a 2 x 4-inch board into the tarp’s peak end. Sandwich the tarp by nailing another board over it. This keeps the tarp taut and prevents water pooling. Position the board against the roof to direct water away from the damaged area. This method is especially useful when you need to tarp a roof around a chimney or other tricky spots.
Tip: Always check the tarp regularly to ensure it remains secure and doesn’t sag.
Tips for Effective Tarp Installation
Ensuring a tight and secure fit
Getting a tight and secure fit is crucial when you tarp a roof without nails. A loose tarp can flap in the wind or let water seep through. Here’s how you can make sure it stays snug:
Measure the area you need to cover. Make sure the tarp extends at least three feet beyond the damaged section.
Lay the tarp flat over the roof, draping it evenly across the surface.
Use wood strips to secure the edges. Screw them into the roof every foot along the edges and across the tarp. This prevents billowing and keeps the tarp in place.
Fold the edges of the tarp under by about two inches before securing them. This adds extra strength and reduces the risk of tearing.
Also, pull the tarp tightly over the roof to avoid dips where water might collect. A tight fit not only keeps the tarp secure but also protects your roof more effectively.
Preventing water pooling and sagging
Water pooling can damage both the tarp and your roof. To avoid this, install the tarp at a slight angle. This slope encourages water to run off instead of collecting in one spot. Regularly check for debris like leaves or branches. These can weigh the tarp down and create dips where water can gather.
A tight tarp is another key to preventing sagging. Pull it taut during installation and secure the edges firmly. This minimizes the chances of water pooling and keeps your roof safe from further damage.
Regularly checking and adjusting the tarp
Even the best-installed tarp needs regular maintenance. Weather conditions like wind or rain can loosen it over time. Check the tarp frequently to ensure it’s still secure. Look for signs of sagging, tears, or water pooling. If you notice any issues, adjust the tarp immediately.
You should also inspect the edges to make sure they’re still firmly in place. If you used sandbags or bungee cords, confirm they haven’t shifted. Keeping the tarp in good condition helps protect your roof and prevents small problems from becoming bigger ones.
Pro Tip: Set a reminder to inspect the tarp after every storm or heavy wind. This simple habit can save you from unexpected roof damage.
Using a tarp on your roof without nails is smart and safe. Methods like adhesive tarps, bungee cords, and sandbags protect roofs without harm. Always stay safe by using the right tools and methods. For big repairs or lasting fixes, hire a pro for better results.
Note: Check your roof tarp often for holes or tears. Overlap edges and seal them with roofing cement to stop water leaks during storms.
FAQ
How long can a tarp stay on a roof?
A tarp can stay on your roof for up to 90 days. However, check it regularly for wear and tear to ensure it remains effective.
Can you reuse a tarp after removing it?
Yes, you can reuse a tarp if it’s still in good condition. Inspect it for holes or damage before using it again.
What size tarp should you use for roof damage?
Choose a tarp that’s at least three feet larger than the damaged area. This ensures full coverage and better protection against water leaks.
How can attach it without drilling?
Yes. We use advanced adhesive technology. The high – strength adhesive bonds well to smooth walls, tiles, etc. It can hold up to [X] kg. But performance may vary by surface. Ideal for drywall, glass, etc. Not suitable for moist, hot, or powdery surfaces. Test in a small area first to ensure strong attachment.
See Also
Helpful Guidelines for Users of Oil Absorbent Socks
An All-Inclusive Manual for Oil-Only Absorbent Pillows