Accidents happen, especially in a laboratory where you’re working with chemicals, biological materials, or hazardous substances. That’s why having a spill kit nearby is so important. It’s your first line of defense when something spills unexpectedly.
When a spill occurs, your first move should be to stay calm and secure the area. You don’t want anyone else getting hurt or exposed. Then, grab the spill kit and follow the proper cleanup steps. Being prepared and knowing how to use the kit can make all the difference in keeping everyone safe and minimizing damage.
Key Takeaways
Always have a spill kit close by. It has tools for safe cleanup.
Learn what is in your spill kit. Know how to use absorbent items and safety gear (PPE).
Practice using the spill kit often. Hold drills so everyone knows what to do during spills.
Check the spill type and size first. This helps pick the right tools and steps to clean up.
Write down spill events. Reports help make safety better and prepare for future spills.
Preparing for Effective Spill Clean Up
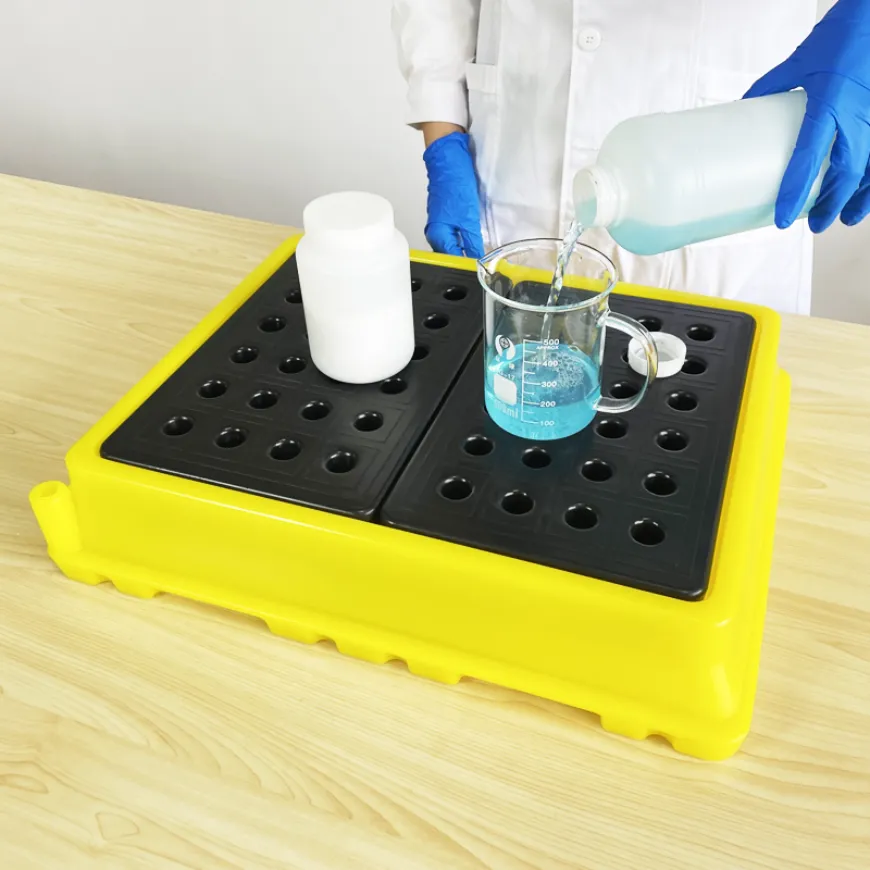
When it comes to laboratory safety, preparation is everything. Knowing what’s in your spill kit and how to use the items in the kit can save time and prevent accidents. Let’s break down the essentials you need to know.
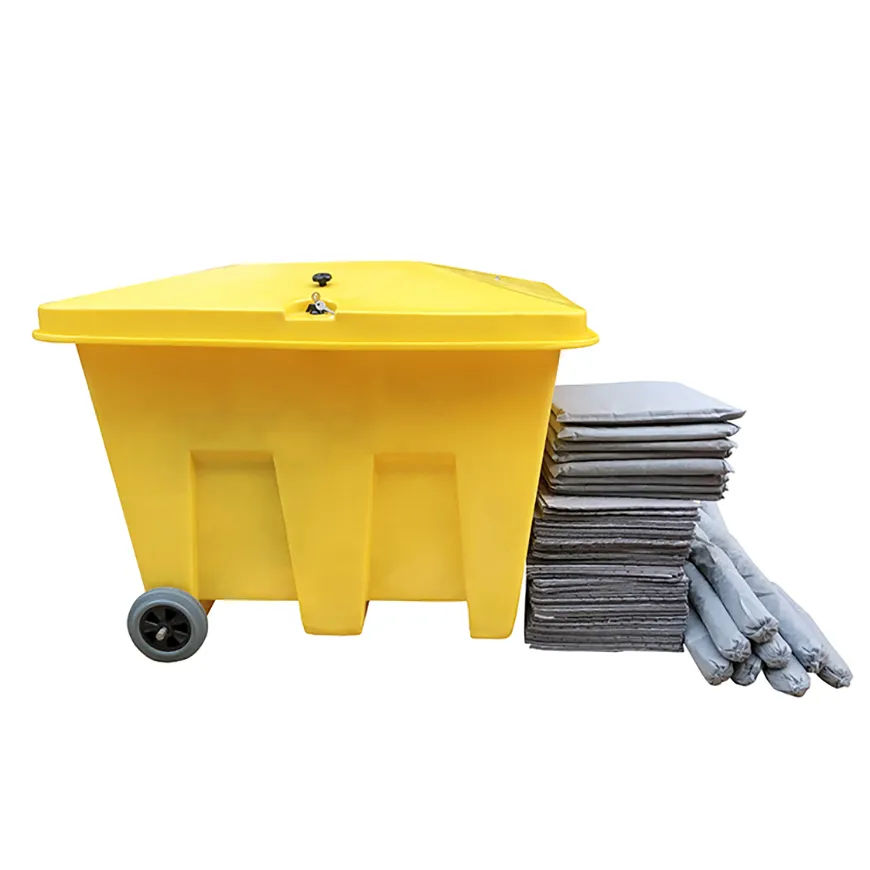
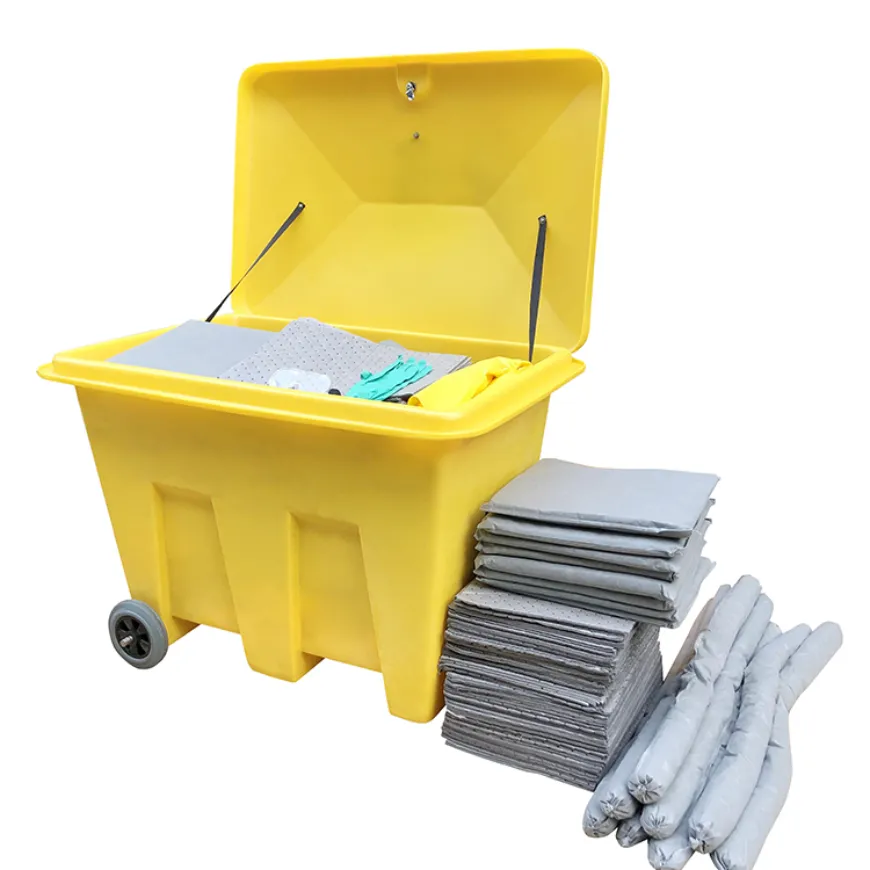
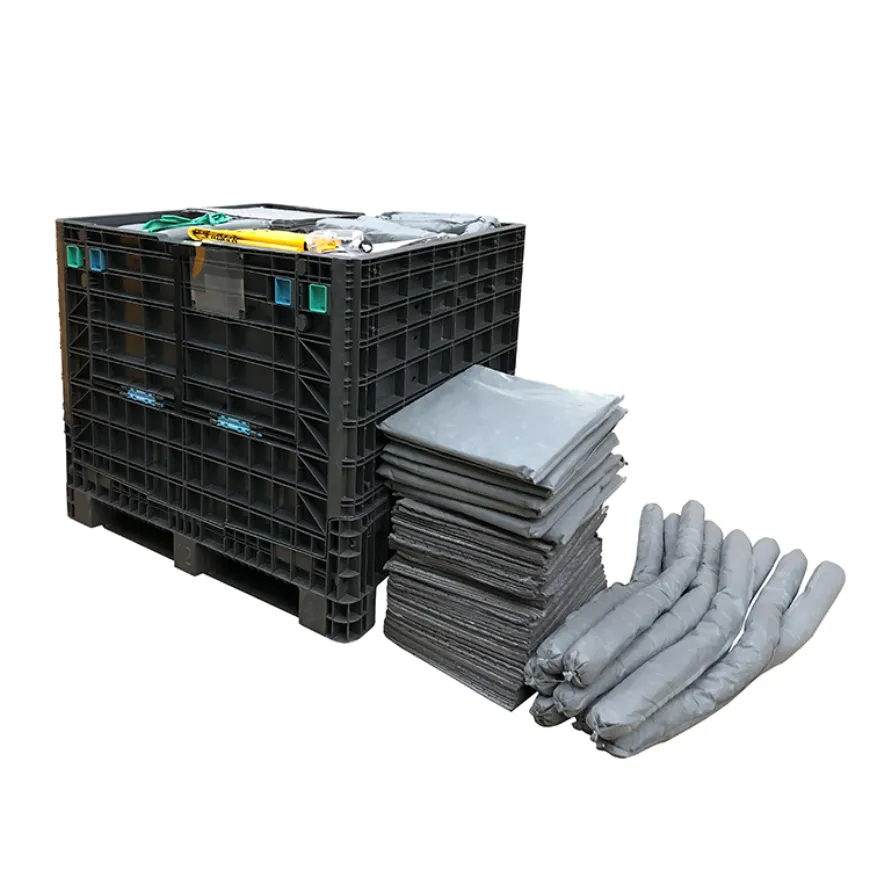
Essential Components of a Spill Kit
A well-stocked spill kit is your best friend during a spill clean up. It contains everything you need to handle spills quickly and safely.
Absorbent materials and their uses
Absorbent materials are the backbone of any spill kit. They soak up liquids and help contain the spill. For example:
Ground corn cobs work well for most aqueous and organic liquid spills.
Absorbent clay, like kitty litter, is great for oils or oxidizing liquids.
Sodium bicarbonate is a must-have for neutralizing liquid acid and base spills.
Calcium carbonate is essential for handling hydrofluoric acid (HF) spills.
Absorbent Material | Quantity (lbs) | Use Case |
|---|---|---|
Ground corn cobs (SlikQwik) | 1-5 | For most aqueous and organic liquid spills |
Absorbent clay (kitty litter) | 1-5 | For oils or oxidizing liquids |
Sodium bicarbonate | 1-5 | For liquid acid and base spills |
Calcium carbonate or Calcium bicarbonate | 1-5 | For HF spills |
Personal protective equipment (PPE) essentials
Personal protective equipment is critical for your safety. Gloves, goggles, and protective clothing shield you from harmful substances. For hazardous spills, respiratory protection may also be necessary. Always check your spill kit to ensure the PPE fits properly and is in good condition.
Disposal bags, labels, and other tools
Once the spill is contained, you’ll need disposal bags and labels to safely remove contaminated materials. These tools help you follow proper waste protocols and prevent further exposure.
Training and Readiness
Even the best spill kit won’t help if you don’t know how to use it. Regular training ensures you and your team are ready to act when a spill happens.
Regular training for laboratory staff
Training sessions should cover how to identify spill hazards, use absorbent materials effectively, and wear personal protective equipment correctly. Practice makes perfect, so schedule drills to keep everyone sharp.
Locating and familiarizing with spill kits
You can’t use a spill kit if you don’t know where it is. Make sure everyone in the lab knows the kit’s location and understands how to use the items in the kit. A quick walkthrough can make all the difference during an emergency.
Assessing Spill Risks
Understanding potential risks helps you prepare for the unexpected. Every lab has unique hazards, so take the time to evaluate yours.
Identifying potential spill hazards
Look around your lab. Are you working with acids, bases, or flammable liquids? Each substance requires specific cleanup procedures. Knowing what you’re dealing with helps you respond effectively.
Evaluating spill severity and response needs
Not all spills are created equal. A small water spill is very different from a large chemical spill. Assess the size and type of the spill to determine the best course of action. Proper neutralizing agents and systematic cleanup prevent adverse reactions and keep everyone safe.
Tip: Documenting spill incidents can highlight areas for improvement in training and procedures. It’s a simple step that can make your lab safer in the long run.
Step-by-Step Spill Clean Up Procedures
When a spill happens, knowing the right steps can make all the difference. Let’s walk through the spill clean up procedures step by step to ensure safety and efficiency.
Initial Response and Safety Measures
Alerting others and securing the area
The first thing you should do is alert everyone nearby. Let them know about the spill so they can stay safe. Then, secure the area to prevent anyone from accidentally walking into the spill. Use signs or barriers if you have them. Keeping others out of harm’s way is your top priority.
Assessing the type and size of the spill
Next, take a moment to evaluate the spill. What kind of substance is it? Is it a small puddle or a large pool? Understanding the type and size of the spill helps you decide how to handle it. For example, a small water spill might just need a mop, but a chemical spill requires more care and the right tools.
Using Personal Protective Equipment (PPE)
Gloves, goggles, and protective clothing
Before you start the cleanup, put on the proper PPE. Gloves protect your hands, goggles shield your eyes, and protective clothing keeps your skin safe. Make sure everything fits well and covers you completely. This step is crucial for avoiding exposure to harmful substances.
Respiratory protection for hazardous spills
For spills involving hazardous chemicals, you might need respiratory protection. If your spill kit includes a respirator, use it to avoid inhaling dangerous fumes. Always check the instructions to ensure you’re using it correctly.
Containing and Cleaning the Spill
Deploying absorbent materials effectively
Now it’s time to contain the spill. Grab the absorbent materials from your spill kit and place them around the edges of the spill. This stops it from spreading further. Then, work your way inward to soak up the liquid. Be thorough to ensure nothing is left behind.
Neutralizing chemicals when necessary
If the spill involves acids or bases, you’ll need to neutralize them. Use the neutralizing agents in your spill kit, like sodium bicarbonate for acids. Follow the instructions carefully to avoid any reactions. Once neutralized, you can safely clean up the residue.
Tip: Always double-check the spill area after cleanup to ensure no traces remain. A quick inspection can prevent future accidents.
Proper Disposal of Contaminated Materials
Sealing and labeling waste for disposal
Once you’ve cleaned up the spill, the next step is to handle the contaminated materials properly. Start by sealing the waste in appropriate containers. Make sure the containers are sturdy and leak-proof to prevent any accidental spills during transport. For chemical waste, use containers that are compatible with the type of substance you’re disposing of. For example, acids should go into acid-resistant containers.
Labeling is just as important as sealing. Every container should have a clear label that identifies the type of waste inside and any associated hazards. This step ensures that anyone handling the waste knows exactly what they’re dealing with. It also helps prevent dangerous mix-ups. For instance, mixing incompatible chemicals can lead to harmful reactions. Proper labeling is a simple but effective way to keep everyone safe.
Following laboratory waste protocols
Disposing of spill cleanup material isn’t just about sealing and labeling. You also need to follow your lab’s waste management protocols. These guidelines are there to ensure hazardous waste is handled and disposed of safely. For chemical waste, always separate it by type. Don’t mix chemicals with biological waste or regular trash. Use designated containers for each type of waste to avoid contamination.
Biological waste, like contaminated gloves or cultures, requires special handling. Place these items in biohazard containers. Before disposal, treat them with disinfectants or autoclave them to kill any pathogens. This step is crucial for reducing risks in the lab.
Proper waste management significantly lowers the chances of chemical exposure. By following these steps, you’re not just protecting yourself but also everyone else in the lab.
Tip: Always check your lab’s waste disposal guidelines. They’re there to help you handle hazardous waste safely and efficiently.
Handling Specific Types of Laboratory Spills
When working in a laboratory, spills can vary widely depending on the materials involved. Knowing how to clean up the different types of chemical spills and other hazardous materials is essential for maintaining safety. Let’s dive into the specifics.
Chemical Spills
Managing acids, bases, and solvents
Acids, bases, and solvents are common in labs, but they can be dangerous when spilled. For acids, use a neutralizing agent like sodium bicarbonate. Sprinkle it over the spill until the bubbling stops, then clean up the residue with absorbent materials. Bases require a similar approach, but you’ll need an acid-neutralizing agent instead.
Solvents, especially organic ones, can be flammable or toxic. Ventilate the area immediately to reduce fumes. Use absorbent pads designed for solvents to soak up the spill. Always wear gloves and goggles to protect yourself from splashes or vapors.
Tip: Never mix neutralizing agents with solvents. It can cause unexpected reactions.
Handling flammable liquids safely
Flammable liquids like ethanol or acetone require extra caution. Turn off any ignition sources nearby, including Bunsen burners or electrical equipment. Use non-sparking tools to handle the spill. Absorb the liquid with materials specifically designed for flammable substances, then seal the waste in a fire-resistant container.
Biological Spills
Cleaning up bloodborne pathogens
Bloodborne pathogens pose a unique risk. Start by wearing gloves, goggles, and a lab coat. Cover the spill with absorbent material soaked in a disinfectant like bleach. Let it sit for at least 10 minutes to kill pathogens. Then, clean up the area and dispose of the waste in a biohazard bag.
Dealing with contaminated cultures
Spills involving cultures require immediate action. First, contain the spill with absorbent materials. Spray the area with a disinfectant and let it sit for the recommended time. Afterward, clean up the materials and place them in a biohazard container. Autoclave the waste if your lab protocols require it.
Mercury and Hazardous Material Spills
Using mercury spill kits
Mercury spills are rare but serious. If you break a thermometer or other mercury-containing device, use a mercury spill kit. These kits include tools like a squeegee and an amalgamating powder to collect the mercury safely. Never use a vacuum cleaner—it spreads mercury vapor.
Special handling for toxic substances
Toxic substances like cyanides or carcinogens demand specialized cleanup procedures. Always consult your lab’s safety manual before acting. Use the appropriate PPE and containment tools. Dispose of the waste according to hazardous material guidelines to prevent exposure.
Note: For large or highly toxic spills, evacuate the area and call your safety officer immediately.
Post-Cleanup Procedures for Laboratory Safety
After a spill, your job isn’t done yet. Post-cleanup procedures are just as important as the initial response. They ensure the area is safe, prevent future accidents, and help improve your lab’s overall safety protocols. Let’s break it down step by step.
Decontaminating the Spill Area
Cleaning surfaces with appropriate solutions
Once the spill is cleaned up, you need to decontaminate the area. Use cleaning solutions that match the type of substance spilled. For example, disinfectants work well for biological spills, while neutralizing agents are better for chemical residues. Wipe down all affected surfaces thoroughly to remove any lingering traces. This step reduces the risk of exposure to harmful substances later.
Ensuring proper ventilation
Good ventilation is key after a spill, especially if it involved chemicals. Open windows or turn on exhaust fans to clear out any remaining fumes. This step protects you and others from inhaling potentially hazardous vapors. If your lab has a fume hood, use it to help with air circulation.
Tip: Always double-check the area after decontamination. A quick inspection ensures no residue or fumes remain.
Reporting and Documentation
Filing incident reports
Documenting the spill is crucial. Write down what happened, how you responded, and any challenges you faced during cleanup. This record helps track the root cause and evaluates the effectiveness of your response. It also ensures compliance with safety regulations and builds a knowledge base for future incidents.
Updating safety protocols and procedures
Use the information from your report to improve your lab’s safety measures. Look for patterns in mishandled chemicals or delays in response. Update your training programs and procedures to address these issues. Regularly revisiting and refining your protocols keeps your lab safer over time.
Why it matters:
Proper documentation tracks root causes and response effectiveness.
It identifies areas for improvement in training and equipment.
Detailed records ensure compliance and enhance future safety measures.
Restocking and Inspecting Spill Kits
Replacing used materials promptly
After a spill, check your spill kit. Replace any used items like absorbent materials, gloves, or disposal bags. A fully stocked kit ensures you’re ready for the next emergency. Don’t wait—restocking promptly can save valuable time during future incidents.
Ensuring readiness for future spills
Take a moment to inspect your spill kit. Are all the items in good condition? Is the PPE still functional? Regular inspections help you catch any issues before they become a problem. A well-maintained kit is your best defense against unexpected spills.
Reminder: A prepared spill kit is essential for handling hazardous waste safely and efficiently.
Mastering the use of a spill kit is more than just a safety measure—it’s a commitment to protecting yourself and your team. By understanding its components and practicing proper cleanup techniques, you can handle spills confidently and minimize risks. Regular training and hands-on workshops keep you prepared for emergencies, building the muscle memory needed for quick responses.
Preparation doesn’t stop there. Consistent safety inspections help identify potential hazards before they become problems. Whether you’re dealing with a universal spill kit for non-hazardous liquids or a biohazard spill kit for infectious materials, having the right tools and knowledge makes all the difference.
Type of Spill Kit | Contents | Uses |
|---|---|---|
Universal Spill Kit | General absorbents, gloves | Non-hazardous liquids like water and coolants |
Oil-Only Spill Kit | Oil absorbents, water-repellent pads | Petroleum-based spills, effective on water |
Chemical Spill Kit | Neutralizers, PPE, absorbent pads | Acids, bases, solvents, and other chemicals |
Biohazard Spill Kit | Disinfectants, gloves, biohazard bags | Blood and infectious materials |
Specialty Spill Kit | Specialized tools, mercury spill kit, absorbents | Unique substances like mercury and battery acid |
By staying proactive and prepared, you create a safer lab environment for everyone. Remember, safety isn’t just a protocol—it’s a habit.
Tip: Make spill kit readiness a priority. Restock and inspect it regularly to ensure you’re always prepared for the unexpected.
FAQ
What should I do if I don’t know the substance spilled?
If you’re unsure, treat the spill as hazardous. Wear full PPE, secure the area, and consult your lab’s safety officer or material safety data sheets (MSDS). It’s better to over-prepare than risk exposure.
Tip: Always label chemicals properly to avoid confusion during emergencies.
How often should I inspect and restock my spill kit?
Check your spill kit monthly. Replace used or expired items immediately after a spill. Regular inspections ensure you’re always ready for unexpected incidents.
Reminder: A well-stocked kit saves time and keeps everyone safe.
Can I use a regular vacuum cleaner for mercury spills?
No, never use a regular vacuum cleaner for mercury. It spreads toxic mercury vapor into the air. Use a mercury spill kit instead, which includes tools designed for safe cleanup.
Warning: Mercury exposure can harm your health. Handle it with care.
What’s the best way to train my team for spill emergencies?
Schedule hands-on training sessions and practice drills. Teach your team how to use spill kits, wear PPE, and follow cleanup protocols. Familiarity builds confidence and speeds up response times.
Pro Tip: Make training interactive to keep everyone engaged.
Are there different spill kits for different substances?
Yes, spill kits vary based on the type of spill. For example:
Chemical Spill Kits: For acids, bases, and solvents.
Biohazard Spill Kits: For blood and infectious materials.
Mercury Spill Kits: For mercury spills.
Emoji Reminder: 🧪 Match the kit to the spill for effective cleanup!