
Accidents happen, but knowing how to handle them can make all the difference. A chemical spill kit is your first line of defense when dealing with hazardous spills in the workplace. It’s not just about cleaning up—it’s about protecting people, the environment, and your business. Regulations require workplaces to have spill containment systems wherever chemicals are stored or used. Quick action prevents fires, injuries, and contamination. Following spill kit instructions ensures you’re prepared and can act safely when it matters most. Learning how to use a spill kit, including specialized options like an acid spill kit, keeps everyone safer.
Key Takeaways
Spot chemical spills fast by noticing strong smells, stains, or liquids. Finding spills early lowers danger.
Put on safety gear (PPE) before going near a spill. This keeps you safe from bad chemicals.
Stop the spill quickly with tools like absorbent socks or booms. This stops it from spreading further.
Clean up the spill using absorbent items to soak it up. Use the correct tools for the specific chemical.
Check your spill kit often to make sure it’s ready. A full kit helps you act fast during spills.
Identifying a Chemical Spill and Assessing Risks
Recognizing a Spill
Spotting a chemical spill quickly is crucial for minimizing risks. You might notice a strong odor, discoloration on surfaces, or even fumes rising from the area. Sometimes, the spill is obvious, like a puddle of liquid, but other times, it’s more subtle. For example, a small oil spill might seem harmless but could seep into drains and cause environmental issues.
To help you identify a spill, consider these key indicators:
Indicator | Description |
|---|---|
Type of chemical(s) spilled | Identifies the specific chemical involved in the spill. |
Amount | Indicates the volume of the chemical that has been spilled. |
Hazardous characteristics | Describes the potential dangers associated with the spilled chemical. |
Location | Specifies where the spill has occurred. |
Proper method for cleaning up | Outlines the recommended procedures for safely cleaning the spill. |
Personal protective equipment | Lists the safety gear available for personnel responding to the spill. |
By paying attention to these details, you can act quickly and appropriately.
Evaluating Hazards
Once you’ve identified the spill, it’s time to assess the risks. Ask yourself: What kind of chemical is this? How much has spilled? Could it harm people, the environment, or equipment? For instance, a chlorine spill at a clothing manufacturer once required a hazmat crew and led to evacuations.
Here’s a simple guide to evaluating hazards:
Step | Description |
|---|---|
Evaluate Risks | Assess the chemical properties and context of the spill to determine if it is simple or complex. |
Evaluate Quantities | Determine the amount of material released and its hazardous nature to decide on cleanup methods. |
Evaluate Potential Impacts | Consider broader impacts, such as the presence of people and ignition sources, to assess the need for emergency response. |
Understanding these factors helps you decide whether you can handle the spill with a spill kit or need professional help.
Initial Safety Actions
Your first priority is safety. If the spill involves a hazardous chemical spill, evacuate the area and alert others. Set up an evacuation zone if necessary. Always wear the right protective gear, like gloves and goggles, before approaching the spill.
Here are some essential steps to take:
Identify the substance involved to determine the appropriate response.
Establish evacuation zones and procedures if the spill poses immediate danger.
Ensure fire suppression equipment is available in case of flammable chemicals.
Taking these actions immediately can prevent injuries and further damage. Remember, preparedness is key. Having a well-stocked spill kit and knowing how to use it can make all the difference.
Preparing for Spill Clean Up
Accessing the Chemical Spill Kit
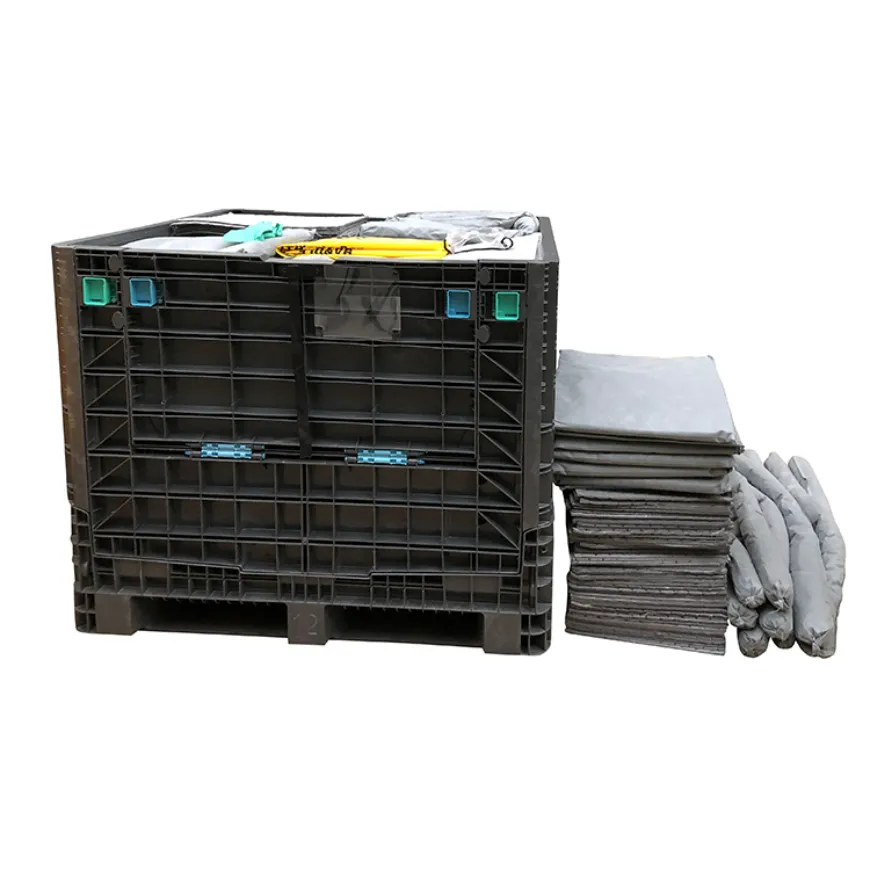
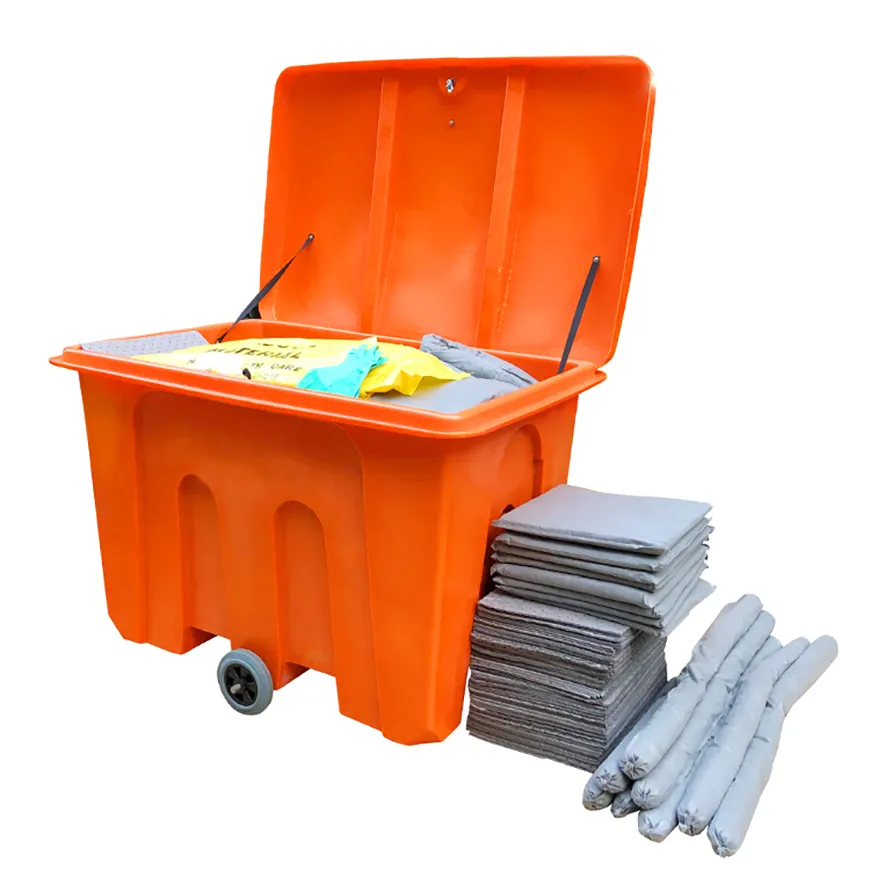
When a chemical spill occurs, time is of the essence. You need to know exactly where your chemical spill kit is located and what it contains. Spill kits should always be stored in areas where chemicals are used or stored, such as labs, warehouses, or manufacturing floors. This ensures you can respond quickly and effectively.
A typical spill kit includes essential tools like absorbent materials, containment tools, and personal protective equipment. For example, absorbent pads, socks, and booms are perfect for liquid spills, while shovels and brooms are better suited for solid spills. Some kits, like an acid spill kit, are designed for specific types of chemicals, so make sure you’re using the right one for the job.
Tip: Regularly inspect your spill kit to ensure all items are stocked and in good condition. A well-maintained kit can save valuable time during emergencies.
Wearing Personal Protective Equipment (PPE)
Before you even think about cleaning up a spill, you must protect yourself. Personal protective equipment is your first line of defense against harmful chemicals. Depending on the spill, you might need chemical-resistant gloves, goggles, coveralls, or even respiratory protection.
For example, if the spill involves a toxic vapor, you’ll need a respirator to avoid inhaling harmful fumes. Always check the Safety Data Sheets (SDSs) for the spilled chemical to determine the appropriate PPE. Without the right gear, you risk exposure to dangerous substances, which could lead to serious health issues.
Note: PPE isn’t just about wearing the right gear—it’s about wearing it correctly. Make sure you’re trained on how to use each item properly.
Item | Description |
|---|---|
Safety Data Sheets | Review for recommended spill cleanup methods and PPE needs. |
PPE Acquisition | Ensure proper PPE is acquired and training is provided for its use. |
Respiratory Protection | Enroll in the Respiratory Protection Program if respirators are needed. |
Setting Up a Safe Work Area
Once you’ve accessed your spill kit and donned your PPE, it’s time to create a safe work area. Start by isolating the spill to prevent it from spreading. Use containment tools like berms or dikes to block the spill from reaching drains or other sensitive areas.
Keep unnecessary personnel away from the spill site. If the spill is large or involves hazardous chemicals, set up warning signs or barriers to alert others. This step is crucial for maintaining safety and minimizing risks.
Reminder: Always have fire suppression equipment nearby when dealing with flammable chemicals. Safety should always come first.
By following these steps, you’ll be well-prepared to handle a spill clean-up efficiently and safely. Preparation is key, and knowing how to use your spill kit can make all the difference.
Chemical Spill Procedure: Step-by-Step Cleanup
Containing the Spill
The first step in any chemical spill procedure is containment. You need to act quickly to stop the spill from spreading. Use the tools in your chemical spill kit, like absorbent socks or booms, to create a barrier around the spill. These tools are designed to soak up or block the chemical, keeping it from reaching drains, sensitive equipment, or other areas.
For example, during the Exxon Valdez oil spill, booms were deployed to prevent oil from spreading into critical habitats. This method proved effective in limiting environmental damage. Similarly, in your workplace, using containment tools can minimize risks and make cleanup easier.
Tip: Always check the Safety Data Sheets (SDSs) for the spilled chemical. They’ll guide you on the best containment methods and tools to use.
Cleaning and Absorbing the Spill
Once the spill is contained, it’s time to clean it up. Start by using absorbent materials from your spill kit, like pads or granules, to soak up the chemical. For liquid spills, absorbent pads work well, while granules are better for larger volumes. If you’re dealing with an acid spill, make sure you’re using an acid spill kit specifically designed for neutralizing and absorbing acidic chemicals.
Proper cleaning techniques are crucial. A pesticide spill incident once caused severe environmental damage because the cleanup wasn’t handled correctly. However, with the right tools and methods, recovery is possible. For instance, fish populations in the affected area returned to 75% of their original levels within five months after proper cleanup efforts.
Reminder: Always wear your PPE during this step to protect yourself from harmful exposure.
Decontaminating the Area
After cleaning up the spill, you’re not done yet. Decontamination is the final step to ensure the area is safe for use again. Use appropriate cleaning agents to remove any remaining chemical residue. For some spills, you might need specialized decontaminants. For example, studies have shown that dry decontamination methods, like using wiping paper, can be more effective than rinsing with water for certain chemicals.
Ventilate the area thoroughly if the chemical produces harmful vapors. This step is especially important for spills involving volatile substances. The EPA’s research on decontamination techniques highlights the importance of thorough cleaning to restore safety.
Note: Dispose of all contaminated materials according to local regulations. This ensures compliance and prevents further risks.
By following these steps, you can handle a spill clean-up effectively and safely. Preparation, the right tools, and proper techniques make all the difference.
Proper Disposal of Contaminated Materials

Segregating and Storing Waste
After a spill clean-up, you can’t just toss contaminated materials into the trash. Proper segregation and storage are essential to ensure safety and compliance. Start by separating the waste based on its type. For example, chemical waste should never mix with biological waste. Mixing incompatible materials can lead to dangerous reactions.
Here’s a quick guide to best practices for segregating and storing waste:
Best Practice | Description |
|---|---|
Chemical Segregation | Store chemical waste separately to avoid reactions between incompatible substances. |
Storage Location | Keep waste in a designated satellite accumulation area near the spill site. |
Quantity Limits | Ensure no more than 55 gallons of hazardous waste is stored in one location. |
Labeling | Clearly label containers with “Hazardous Waste” and include a description of the contents. |
Always use secure, well-ventilated storage areas designed to contain spills. Routine inspections are also a must. Check that containers are sealed and in good condition. This step not only keeps your workplace safe but also helps you stay compliant with regulations.
Tip: Place absorbent materials, like those from your chemical spill kit, in sealed chemical waste bags before storage.
Following Disposal Regulations
Disposing of hazardous waste improperly can lead to serious consequences. You might face legal penalties or cause environmental harm. For instance, a pest control company once violated the Clean Water Act by washing pesticides into a storm drain. This mistake resulted in fines and significant environmental damage.
To avoid such issues, always follow local, state, and federal guidelines. Here are some key points to remember:
Consult the Material Safety Data Sheet (MSDS) for disposal instructions specific to the spilled chemical.
Use Environmental Health & Safety (EH&S) services for waste disposal. They handle both small and large spills safely.
Never dispose of spill waste in regular trash or drains.
Proper disposal isn’t just about following rules—it’s about protecting the environment and your community. By adhering to these practices, you ensure that your workplace remains safe and compliant.
Reminder: If you’re dealing with biological spill waste, decontaminate it or send it to a biomedical waste vendor.
By taking these steps, you’ll handle waste responsibly and avoid unnecessary risks.
Reporting and Preventing Chemical Spills

Reporting the Incident
When a hazardous chemical spill occurs, reporting it promptly is critical. You need to document the incident thoroughly and notify the appropriate authorities. Federal law requires you to report spills exceeding their Reportable Quantity (RQ) to the National Response Center. Some agencies even mandate reporting within hours of the spill.
To ensure accurate reporting, include these key details:
Key Detail | Description |
|---|---|
Type of Material | The specific chemical or substance that was spilled. |
Approximate Volume | An estimate of how much of the material was released. |
Location | Where the spill occurred, including any relevant conditions. |
Containment Steps | Actions taken to contain the spill and prevent further spread. |
Cleanup Actions | Details on how the spill was cleaned up and disposed of. |
Personnel Involved | Names or roles of individuals who managed the spill response. |
Equipment Used | Any tools or equipment utilized during the response. |
Visual Documentation | Photos taken before, during, and after the cleanup for evidence. |
Timely reporting not only ensures compliance but also helps protect the environment and workplace safety.
Preventative Measures
Preventing spills is always better than cleaning them up. Proper storage and handling of chemicals can significantly reduce the risk of incidents. For example, storing larger containers closer to the floor minimizes the chance of falling and breaking.
Here are some effective preventative measures:
Description | |
|---|---|
Proper Storage | Use sturdy shelves and design storage areas to minimize breakage and tipping. |
Hazard Class Storage | Store containers by hazard class to prevent incompatible reactions. |
Lower Storage | Keep larger containers closer to the floor to reduce falling risks. |
Shelf Safety | Ensure shelves are designed to minimize the danger of falling containers. |
Regular Inspections | Conduct regular checks on the integrity of containers to prevent leaks. |
Seismic Security | Implement measures in earthquake-prone areas to secure storage. |
By following these steps, you can create a safer environment and reduce the likelihood of hazardous chemical spills.
Maintaining Spill Kits
A well-maintained spill kit is your best friend during a spill emergency. Select kits based on the types of hazardous materials in your workplace, such as an acid spill kit for acidic substances. Keep them easily accessible in areas prone to spills, like storage rooms or labs.
Regular inspections are essential. Check that all items, like absorbent pads and gloves, are in good condition. Train your team on how to use the kits effectively. This ensures everyone knows their role during a spill.
Although OSHA doesn’t specifically mandate spill kits, regulations like the General Duty Clause emphasize their importance. Neglecting to maintain your kits can lead to safety hazards, operational disruptions, and even penalties.
Tip: Dispose of used spill kit materials properly to avoid turning them into hazardous waste.
By keeping your spill kits in top shape, you’ll be ready to handle emergencies quickly and safely.
Using a chemical spill kit effectively can make all the difference in keeping your workplace safe. You’ve learned how to identify spills, assess risks, and follow step-by-step cleanup procedures. These actions protect you, your team, and the environment from harmful chemicals.
Don’t underestimate the importance of proper cleanup. Skipping steps or using the wrong tools can lead to bigger problems. Regular training ensures everyone knows what to do when a spill happens. Inspections keep your kits ready for action.
Remember: Preparedness isn’t just about having a kit—it’s about knowing how to use it. Stay proactive, and you’ll handle any chemical spill with confidence.
FAQ
What is a chemical spill kit used for?
A chemical spill kit helps you safely clean up hazardous spills. It contains tools like absorbent materials, gloves, and goggles to protect you and the environment. Whether it’s a small oil spill or a larger chemical leak, a spill kit ensures quick and effective containment.
How is an acid spill kit different from a regular spill kit?
An acid spill kit is specifically designed to handle acidic substances. It includes neutralizing agents, acid-resistant gloves, and absorbent materials. If your workplace deals with acids, this kit is essential for safe cleanup and preventing chemical burns.
How often should I inspect my chemical spill kit?
You should inspect your spill kit monthly. Check for missing or damaged items, like torn gloves or expired neutralizers. A well-maintained kit ensures you’re always ready to respond to spills quickly and safely.
Can I use a chemical spill kit for any type of spill?
Not always. Some spills, like radioactive or biological materials, require specialized kits. Always check the Safety Data Sheet (SDS) for the spilled substance to ensure your kit is appropriate for the cleanup.
Why is training important for using a spill kit?
Training helps you use the kit correctly and confidently during emergencies. You’ll learn how to identify spills, wear PPE, and follow cleanup procedures. Without training, you risk improper handling, which could lead to injuries or environmental damage.
Tip: Schedule regular spill response drills to keep your team prepared!