
Oil spills can wreak havoc on ecosystems, harming wildlife and disrupting food chains. Birds coated in oil often face hypothermia, while marine mammals struggle with contaminated food and breathing issues. That’s why having an oil spill kit on hand is essential. It helps you respond quickly, ensuring safety and environmental protection. Regulations like the Spill Prevention, Control, and Countermeasure (SPCC) rule aim to prevent spills from reaching waterways. By using your kit properly, you can minimize damage and comply with these critical guidelines. Preparedness isn’t just smart—it’s your responsibility.
Key Takeaways
Oil spill kits help clean spills fast and protect nature.
Check the spill first. Know the type, size, and dangers.
Wear safety gear (PPE) to stay safe from harmful substances.
Use absorbent items and barriers to stop the spill from spreading.
Check and refill your spill kit often to keep it ready.
Understanding Oil Spill Kits
What Is an Oil Spill Kit?
An oil spill kit is your first line of defense when dealing with oil spills. It’s a collection of tools and materials designed to help you contain and clean up spills quickly and safely. Whether you’re in an industrial setting, on a marine vessel, or managing a transportation fleet, having a spill kit nearby ensures you’re ready to act. These kits are essential for protecting the environment, maintaining safety, and staying compliant with regulations.
Why are they so important? Let’s break it down. Spill kits allow for quick response, which reduces the risk of oil spreading. They help protect soil, water, and wildlife from contamination. Plus, they minimize exposure to hazardous substances, keeping you and others safe. Many regulations even require businesses to have these kits on hand. And let’s not forget the cost savings—prompt cleanup can help you avoid hefty fines and expensive environmental damage.
Purpose/Benefit | Description |
|---|---|
Quick Spill Response | Allows for fast containment, reducing the risk of a spill spreading. |
Environmental Protection | Helps prevent contamination of soil, water, and local ecosystems. |
Safety | Minimizes exposure to hazardous substances, protecting workers and bystanders. |
Regulatory Compliance | Many regulations require companies to have oil spill kits on hand. |
Cost Savings | Avoids potential fines and costly cleanups by containing spills promptly. |
Key Components of Spill Kits
Spill kits come packed with everything you need to tackle an oil spill. Here’s what you’ll typically find:
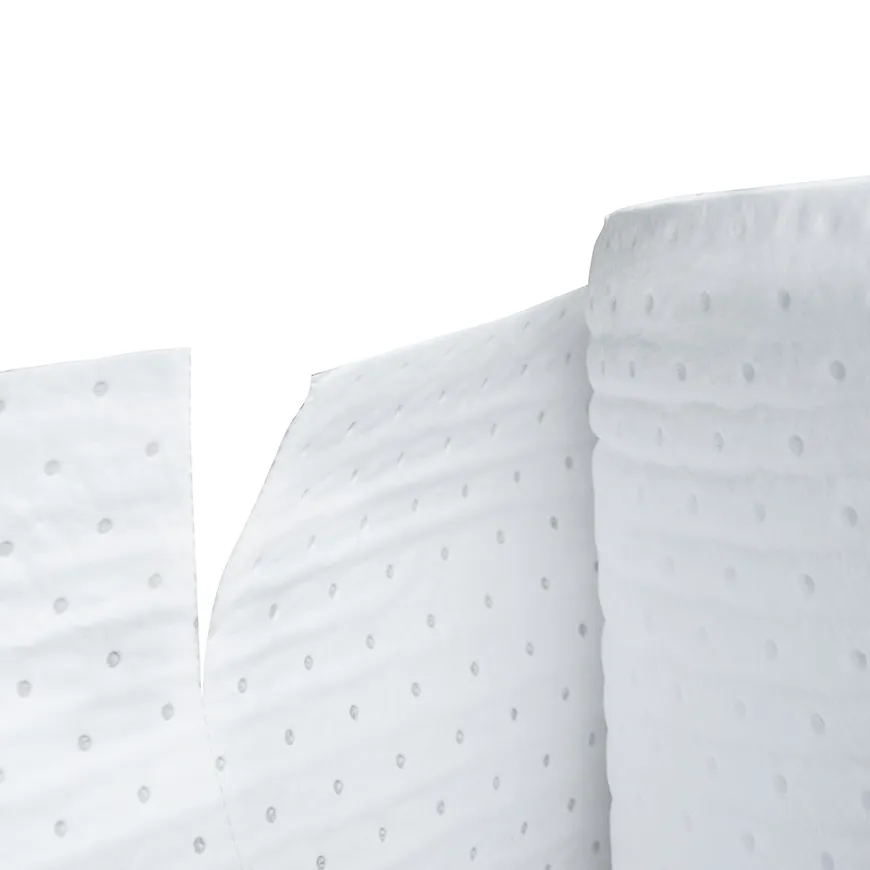
Oil Absorbent Pads: These sheets soak up large amounts of oil.
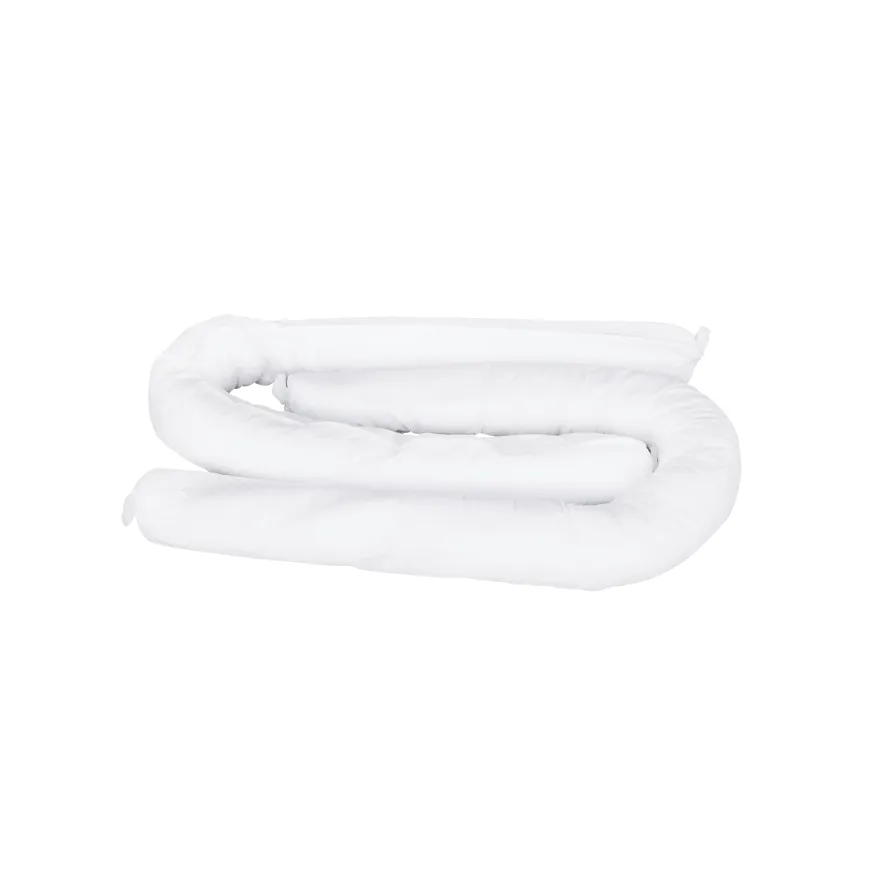
Oil Absorbent Socks and Booms: Flexible tubes that form barriers to stop the spread of oil.
Oil Absorbent Pillows: Perfect for absorbing pooled oil.
Disposal Bags: Safely store used absorbents and contaminated materials.
Personal Protective Equipment (PPE): Includes gloves, goggles, and sometimes aprons to keep you safe.
Instruction Manual: A step-by-step guide for using the kit effectively.
Some kits also include items like shovels, duct tape, and waste labels to make cleanup even easier. For example, UPQUARK’s marine oil spill kit includes specialized tools for handling spills in water environments.
Absorbent Materials
Absorbents are the backbone of any spill kit. Pads, socks, booms, and pillows are all designed to soak up oil efficiently. Oil-only absorbent pads, for instance, repel water while absorbing hydrocarbons, making them ideal for marine spills.
Containment Tools
Containment tools like booms and socks help you control the spill. They create barriers that stop oil from spreading, especially in water or near drains.
Personal Protective Equipment (PPE)
Your safety matters. PPE like gloves, goggles, and coveralls protect you from exposure to hazardous substances during cleanup.
Disposal Bags and Containers
Once the spill is contained, you’ll need to dispose of the waste properly. Heavy-duty disposal bags and labeled containers ensure safe and compliant disposal.
Types of Oil Spill Kits
Not all spills are the same, and neither are spill kits. Here’s a quick look at the different types:
Universal Spill Kits: These are versatile and can handle various liquids, including oil, water, and chemicals. They’re a great all-around option.
Oil-Only Spill Kits: Specifically designed for oil spills, these kits use hydrophobic absorbents that repel water. They’re perfect for marine and industrial settings.
Chemical Spill Kits: Tailored for hazardous chemicals, these kits include neutralizing agents and enhanced PPE for maximum safety.
For example, a logistics company might rely on universal spill kits for everyday spills, while a marina would benefit from an oil-only spill kit to handle fuel spills. In a lab setting, a chemical spill kit could be a lifesaver during an acid spill.
Step-by-Step Instructions for Using an Oil Spill Kit
Step 1: Assess the Situation
Before diving into the cleanup process, take a moment to evaluate the situation. This step ensures you approach the spill safely and effectively.
Identify the Type and Extent of the Spill
Start by answering a few key questions:
What type of substance has spilled? Is it oil, a chemical, or something else?
How much has spilled? Estimate the quantity to determine the scale of the response.
Where is the spill located? Is it on land, near water, or in a sensitive area?
What risks does the spill pose to people, the environment, or property?
By gathering this information, you’ll know how to proceed and which tools in your spill kit to use.
Ensure the Area Is Safe
Your safety comes first. Before you begin, make sure the area is secure. Wear the appropriate personal protective equipment (PPE) from your spill kit, such as gloves, goggles, and a full-body coverall. If the spill involves hazardous fumes, use a properly fit-tested respirator. Training on site hazards and oil spill risks is essential to avoid accidents. Once you’re geared up, check for immediate dangers like fire risks or slippery surfaces.
Tip: If the spill is near drains or waterways, act quickly to prevent contamination. Use containment tools like booms or drain guards from your spill containment kit.
Step 2: Wear Personal Protective Equipment
PPE is your shield against harmful substances during a spill cleanup. Don’t skip this step—it’s critical for your health and safety.
Gloves, Goggles, and Protective Clothing
Your spill kit includes oil-resistant gloves, safety glasses, and protective clothing. These items protect your skin and eyes from direct contact with oil or chemicals. For larger spills, consider wearing boots and a full-body coverall to minimize exposure.
Respiratory Protection if Necessary
If the spill releases harmful vapors, a respirator is a must. Ensure it’s properly fit-tested to provide adequate protection. Without the right PPE, you risk respiratory issues, chemical burns, or long-term health problems.
Note: Always inspect your PPE for damage before use. Replace any worn-out items immediately.
Step 3: Contain the Oil Spill
Once you’re protected, it’s time to contain the spill. This step prevents the oil from spreading and causing further damage.
Use Booms or Socks to Prevent Spread
Booms and socks are essential tools for oil spill containment. Place them strategically around the spill to create a barrier. For example:
Use containment booms to stop the oil from spreading.
Regularly check for saturation and replace booms when needed.
Pro Tip: Collaborate with response teams or environmental agencies for large spills. They can help optimize containment efforts.
Block Drains and Waterways
Protecting drains and waterways is crucial. Use tools like drain guards or stormwater filter socks to block oil from entering sensitive areas. For spills near water, deflection booms can steer oil toward collection zones, while protection booms shield vulnerable regions.
Reminder: Always monitor the containment tools during the spill response to ensure they remain effective.
Step 4: Apply Absorbent Materials
Now that you’ve contained the oil spill, it’s time to soak it up using absorbent materials from your spill kit. This step is crucial for effective spill cleanup and ensures no oil is left behind.
Use Pads or Loose Absorbents
Start by selecting the right absorbent material for the job. Your spill kit likely includes oil absorbent pads, socks, or loose absorbents. For small spills, pads or polypropylene sorbents work wonders. They’re lightweight, easy to use, and designed to absorb oil without soaking up water. If you’re dealing with a spill on water, consider using foam pads or coconut husk fiber for eco-friendly cleanup. For larger spills, reusable sorbent rolls or straw can help you cover more ground efficiently.
Here’s a quick guide to choosing the best material:
Material | Best Application |
|---|---|
Polypropylene Sorbents | Perfect for small, localized spills; repels water while absorbing oil. |
Foam Pads | Ideal for thin oil layers on calm water surfaces. |
Coconut Husk Fiber | Great for eco-friendly cleanup in ponds or calm water. |
Straw or Hay | Temporary solution for skimming oil off natural water bodies. |
Tip: Always monitor the absorbents as they saturate. Replace them promptly to maintain efficiency.
Replace Saturated Materials
Once an absorbent material is fully saturated, swap it out for a fresh one. Leaving saturated materials in place reduces their effectiveness and risks spreading the oil further. Keep an eye on the spill area and continue replacing materials until all visible oil is absorbed.
Step 5: Clean Up the Area
After absorbing the oil, it’s time to clean the area thoroughly. This step ensures no residue remains, leaving the site safe and oil-free.
Remove Used Materials and Tools
Carefully collect all used absorbent materials, booms, and tools. Place them in the disposal bags provided in your spill kit. Be thorough—any leftover materials can cause contamination or safety hazards.
Ensure No Residue Remains
To clean the area completely, rinse it with hot water to remove any remaining oil or cleaner residue. If stains persist, apply a second round of degreaser or detergent. Let it sit for a few minutes before rinsing again. For stubborn spills, sprinkle powder over the area and let it sit overnight. Sweep up the residue and repeat the cleaning process if necessary.
Reminder: Always check for slickness after cleaning. Dry the surface with a clean towel or let it air dry to prevent slips.
Step 6: Dispose of Waste Properly
Proper disposal of oil spill waste is critical for environmental protection and regulatory compliance. Mishandling waste can lead to severe consequences, including fines and environmental damage.
Follow Local Hazardous Waste Regulations
Oil spill waste is often classified as hazardous. Check your local regulations to determine the correct disposal method. Options may include industrial landfilling, recycling, or specialized hazardous waste facilities. Always follow these guidelines to avoid penalties and protect the environment.
Use Labeled Disposal Bags or Containers
Your spill kit includes heavy-duty disposal bags or containers. Use these to store used absorbents and contaminated materials. Label the bags clearly to indicate hazardous waste. This step ensures safe handling and compliance during waste transport and disposal.
Did you know? Just one liter of waste oil can contaminate over a million liters of water. Proper disposal prevents this kind of environmental disaster.
By following these steps, you’ll not only manage the spill effectively but also minimize its impact on the environment.
Step 7: Restock the Spill Kit
Once you’ve handled the oil spill, don’t forget to restock your spill kit. This step ensures you’re ready for the next emergency. A fully stocked kit is your best defense against future spills, so don’t put this off.
Replace Used Items Immediately
After a cleanup, check your spill kit and replace any used items right away. Absorbent materials like pads, socks, and booms are often the first to run out. If you’ve used gloves, goggles, or disposal bags, make sure to restock those too. Keeping your kit complete is critical for effective spill management. Imagine facing another spill only to find your kit missing essential tools. That’s a disaster waiting to happen.
Here’s a tip: Create a checklist of all the items in your spill kit. After every use, go through the list and mark what needs replacing. This simple habit saves time and ensures nothing gets overlooked. Remember, even unused items can expire or degrade over time. Check the expiration dates on your absorbent materials and PPE to avoid surprises.
Real-life lesson: A facility once faced a major coolant leak but couldn’t respond effectively because their spill kit was missing key items. The result? Significant damage and compliance issues. Don’t let this happen to you.
Inspect for Damaged or Missing Components
Restocking isn’t just about replacing what you’ve used. It’s also about inspecting your spill kit for damage or missing components. Look closely at items like booms, socks, and gloves. Are they torn or worn out? If so, swap them for new ones. Damaged tools won’t perform well during an emergency.
You should also check your kit every three months, even if you haven’t used it. This routine inspection ensures everything is in good working condition. Verify that your marine oil spill kit or oil-only spill kits have the correct amount of equipment. If you notice anything missing, refill it immediately. A well-maintained spill containment kit is your safety net during unexpected spills.
Pro Tip: Store your spill kit in a visible, accessible location. This makes it easier to inspect and ensures quick access during emergencies.
By following these instructions, you’ll always be prepared for effective oil spill containment. Restocking and inspecting your kit might seem like small tasks, but they make a big difference when it comes to protecting the environment and staying compliant.
Tips for Maintaining and Storing Oil Spill Kits
Keeping your oil spill kit in top condition is essential for effective spill management. A well-maintained kit ensures you’re always ready to respond quickly and efficiently. Here’s how you can maintain and store your kit properly.
Regular Inspections
Check for Expired or Damaged Items
Inspect your spill kit regularly to ensure all components are in good condition. Look for expired absorbent materials or damaged items like torn gloves or worn-out booms. Replace anything that’s no longer usable. A quick check every three months can save you from surprises during an emergency.
Tip: Don’t wait until you’ve used the kit to inspect it. Proactive checks keep your kit functional and ready for action.
Ensure All Components Are Present
After every use, restock your kit immediately. Missing items can delay your response during the next spill. Use a checklist to verify that everything is accounted for, from absorbent pads to disposal bags. This simple habit ensures your kit is always complete.
Proper Storage Practices
Store Near Potential Spill Areas
Place your spill kit in a location where spills are most likely to occur. For example, keep it near machinery, storage tanks, or loading docks. Accessibility is key during emergencies. A kit stored too far away can waste precious time.
Protect from Extreme Temperatures
Extreme heat or cold can damage your kit’s components. Store it in a temperature-controlled area to maintain its effectiveness. For outdoor storage, consider weatherproof containers to shield the kit from harsh conditions.
Reminder: A well-maintained and accessible kit is your first line of defense against oil spills.
Training and Preparedness
Conduct Regular Drills
Practice makes perfect. Regular drills help your team stay prepared for real-life spills. Simulate different scenarios to test your response plan and identify areas for improvement. Drills also allow you to incorporate new technologies and refine your containment strategies.
Ensure Team Members Know How to Use the Kit
Every team member should know how to use the oil spill kit effectively. Provide hands-on training to familiarize them with the tools and procedures. A well-trained team can act quickly, minimizing the impact of a spill.
Pro Tip: Develop a detailed spill prevention and response plan. Include steps for containment, cleanup, and waste disposal. This ensures everyone knows their role during an emergency.
By following these tips, you’ll keep your oil spill kit ready for action. Regular maintenance, proper storage, and team training are the cornerstones of effective spill management. With UPQUARK’s reliable kits and your preparedness, you can handle spills confidently and protect the environment.
An oil spill kit is more than just a tool—it’s your first line of defense against environmental damage and costly fines. Using it properly ensures quick responses, protects ecosystems, and keeps everyone safe. Regular maintenance and training make all the difference when spills happen.
Here’s why it matters:
Benefit | Description |
|---|---|
Quick Spill Response | Allows for fast containment, reducing the risk of a spill spreading. |
Environmental Protection | Helps prevent contamination of soil, water, and local ecosystems. |
Safety | Minimizes exposure to hazardous substances, protecting workers and bystanders. |
Regulatory Compliance | Many regulations require companies to have oil spill kits on hand. |
Cost Savings | Avoids potential fines and costly cleanups from delayed response. |
By staying prepared, you’re not just protecting the environment—you’re safeguarding your team and your bottom line. With UPQUARK’s reliable oil spill kits, you’ll always be ready to tackle the next oil spill with confidence.
FAQ
What should I do if my oil spill kit is missing items?
Check your kit regularly to ensure it’s fully stocked. If something’s missing, replace it immediately. You can order replacement items from UPQUARK or your preferred supplier. A complete kit is essential for effective spill response, so don’t wait until an emergency to restock.
Can I reuse absorbent materials from my spill kit?
No, you shouldn’t reuse absorbent materials. Once they’re saturated, they lose effectiveness and can spread contamination. Always dispose of used materials according to local hazardous waste regulations. UPQUARK kits include disposal bags to make this process easier and safer for you.
How often should I inspect my oil spill kit?
Inspect your kit every three months or after each use. Look for expired or damaged items and replace them as needed. Regular checks ensure your kit stays ready for emergencies. UPQUARK recommends creating a checklist to track your inspections and restocking needs.
Are UPQUARK oil spill kits suitable for marine spills?
Yes, UPQUARK offers oil-only spill kits designed for marine environments. These kits include hydrophobic absorbents that repel water while soaking up oil. They’re perfect for handling fuel spills on water and protecting sensitive ecosystems.
Do I need training to use an oil spill kit?
Yes, training is important. It helps you and your team respond quickly and safely during a spill. UPQUARK recommends regular drills and hands-on practice with your kit. A well-trained team can minimize damage and protect the environment effectively.
See Also
Evaluating UPQUARK Marine Absorbents for Oil Spill Response
Essential Tips for Users of Oil Absorbent Socks